Modern construction progress cameras create a reliable visual record of the work so owners, lenders, and field teams can stay aligned without constant site walks.
Daily photos show what changed today; time-lapse shows how the project is trending.
With the right shot plan and cadence, you’ll reduce windshield time, speed approvals, and settle disputes quickly.
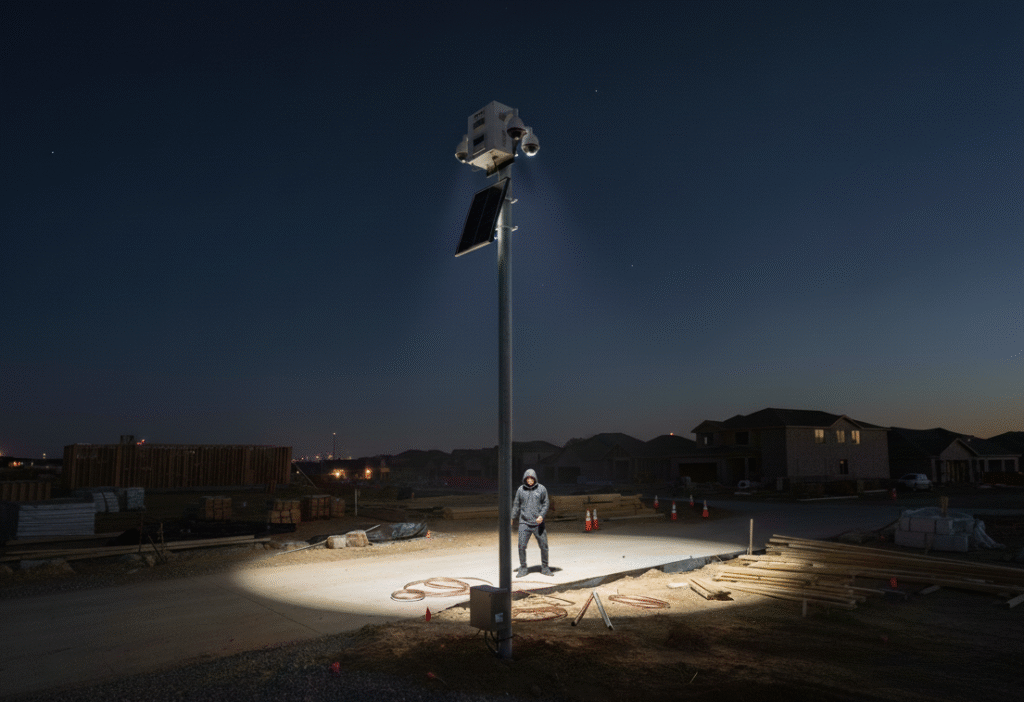
If you’re planning real-time site visibility, pair progress documentation with live monitoring and talk-down options or mount cameras on a mobile tower or pole-mount vault for the best coverage. For tailored layouts, request a site plan from our team.
1) Why Progress Cameras Matter Now
Projects move fast, stakeholders are spread out, and schedules are tight. Every week, questions pop up: Did steel arrive? Was the pour completed? Who moved the pallets?
Without visuals, you rely on texts and memory. Progress cameras turn that uncertainty into clarity by capturing consistent, high-quality images that anyone can review in seconds.
The result: fewer site visits, faster decisions, and fewer surprises.
2) What “Document Progress Automatically” Really Means
“Automatically” means the system takes care of capture and archiving without someone remembering to pull out a phone.
You define where the camera looks and how often it shoots. From there, it creates:
- Daily photo sets at fixed times (e.g., 7:00, 12:00, 16:00).
- Event photos on milestones (e.g., start of pour, topping out).
- Time-lapse sequences—short clips that compress days or weeks so trends and delays are obvious.
- Searchable archive with timestamps and consistent angles so you can compare “today vs. last Friday” instantly.
3) Time-Lapse vs. Daily Photos: When to Use Each
Both matter, but they solve different problems.
- Daily photos are for operational truth—what’s on-site, what moved, what’s staged for tomorrow. Perfect for OAC meetings, RFI responses, and pay-app substantiation.
- Time-lapse is for trend and storytelling—how steel rose, how sitework progressed, how enclosure closed in. Great for internal reviews, owner updates, and end-of-project marketing.
Recommended baseline: 3× daily photos per primary vantage plus a weekly time-lapse export during active phases.
4) Shot Planning: Vantage Points That Tell the Full Story
Strong documentation depends on where you point the glass. For most jobs, plan at least three primary angles:
- Overview mast (north corner): captures site entrance, laydown, and general flow.
- Structure progress (south elevation): follows steel, framing, and enclosure.
- Workface detail (interior or slab edge): captures MEP rough-in, pours, and staging areas.
Add temporary angles for short, high-risk phases (e.g., roofing, façade panels, lobby build-out).
Keep mounts high enough to avoid obstruction by equipment, and maintain a consistent horizon so side-by-side comparisons are easy.
5) Cadence, Naming, and Retention: Your Photo Ops Plan
- Cadence: 07:00 pre-shift, 12:00 mid-day, 16:00 end-of-day. Increase to hourly during critical phases (pours, crane picks).
- File naming: PROJECTCODE_VANTAGE_YYYY-MM-DD_HHMM. Example: BLDG9_SOUTH_2025-10-18_1600.
- Tagging: add tags like pour-3, steel-AOR, roofing-phase-2.
- Retention: keep full-res stills through project close-out; archive time-lapse masters and weekly MP4 exports.
- Quality guardrails: fixed exposure for consistency; periodic field checks for lens cleanliness and obstructions.
6) Turning Images into Useful Reports
Images only help if stakeholders can act on them. Bake visual artifacts into routine communications:
- Weekly owner snapshot: a one-pager with 3–6 stills from fixed angles and captions stating what advanced and what’s next.
- Lender draw packet addendum: daily stills for the period tied to schedule items and pay-app lines.
- Sub coordination: annotated stills showing staging conflicts, access paths, or lift windows.
- OAC deck slide: a short time-lapse clip plus two side-by-side stills (“last Friday vs. today”).
Keep captions objective and specific: “East elevation sheathing 70% complete; level 3 MEP rough-in started.”
7) Reducing Disputes with Visual Evidence
When delivery timing, damage, or site access is questioned, neutral imagery ends arguments.
With fixed angles and timestamps, you can confirm when materials arrived, where they were staged, and whether protection measures were in place.
It’s much easier (and faster) to resolve issues when everyone can see the same facts.
8) Quick ROI Math and KPIs to Track
Progress cameras save money in small, repeatable ways:
- Fewer drive-bys: replace routine site checks with five-minute reviews.
- Faster approvals: lenders and owners validate work with current photos.
- Cleaner coordination: subs see exact site conditions before rolling trucks.
- Lower dispute cost: objective visuals reduce back-and-forth and claims.
Track these KPIs:
- Site-walk hours avoided per week.
- OAC decisions made on first pass.
- RFI “photo-resolved” count.
- Pay-app cycle time.
- Disputes closed without escalation.
9) Copy/Paste Deployment Checklist
- Map three primary vantages (overview, structure, workface) + any temporary angles.
- Set capture cadence (3× daily; hourly during critical phases).
- Standardize file naming, tags, and retention.
- Establish a weekly owner snapshot and time-lapse export routine.
- Add photo evidence sections to pay-apps and draw packages.
- Assign a weekly QC: clean lenses, verify angles and exposure, confirm timestamps.
- Maintain a close-out bundle: final time-lapse, key stills, and an index file.
10) FAQs
How many cameras do we need for decent coverage?
Most mid-size projects do well with three primary vantages; add temporary angles for short critical phases.
What capture interval is best for time-lapse?
Every 10–20 minutes during active daylight works well; tighten to 2–5 minutes during pours or crane picks.
Will daily photos replace site walks?
Not entirely—but they dramatically reduce routine trips and help focus in-person time where it matters most.
How long should we retain images?
Keep full-res stills through close-out and warranty; archive time-lapse masters and weekly exports for reference.
What about privacy and branding?
Avoid shooting neighboring properties and remove logos from frames. Keep images focused on the work, not people.
Conclusion
Progress cameras are a simple, proven way to cut windshield time, document truth, and reduce disputes.
They let everyone—from field leads to lenders—see the same reality in minutes instead of hours.
For setup guidance or a customized layout, request a site plan from our team.


